Virtual Boy Ribbon Replacement Guide
This guide will help you install the Virtual Replacment Ribbon.
First disassemble your Virtual Boy until step 6: Ifixit Guide.
Remove the display by removing both screws.


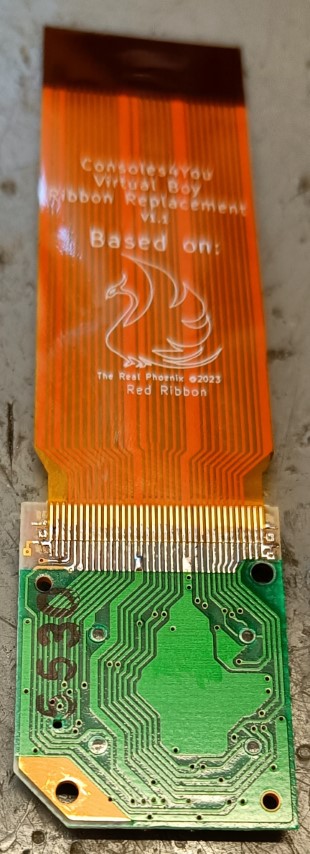
Remove the old ribbon, by peeling it away.

Add flux to the pcb and plate all pads at the same time disolving the rest of the glue. Afterwards clean the pcb.
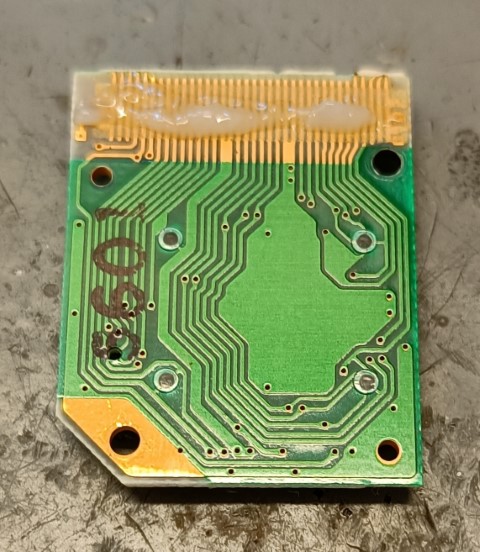


Tack in the flex on both sides then apply flux and solder. Make sure to use som tweezers to press the flex down while soldering.